
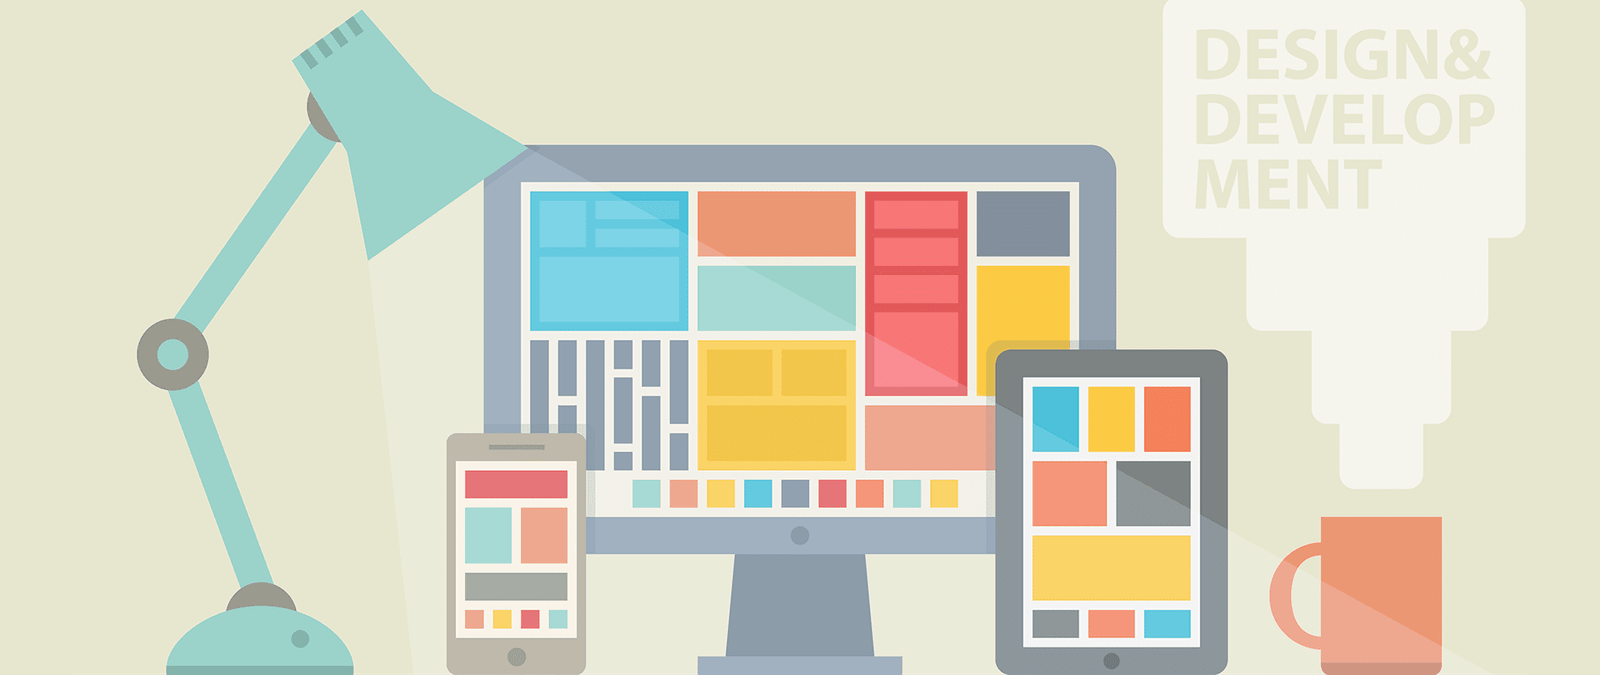

Images that work
Web pages without any pictures look pland, but that’s no excuse for covering your web page with decorative effects. The number and size of pictures on a website is often the biggest factor in determining how long it takes to download. So you need to be in those use, and make sure they add maximum value for the visitor.
While it is okay to use some decorative images, the best are those that inform or entertain, and that help you to tell your story. For example:
- Your logo, if you have one
- Pictures of the products you are selling or writing about
- Photos of your company’s shops or offices, or places you are writing about
- Photos of yourself, the people on your team, or those you are writing about or interviewing
- Illustrations that help explain a tutorial, such as an assembly diagram for a computer
- Cartoon strips
- Artistic photos, if you built the site to share them
You will probably find that you already have lots of pictures you can put on your website. You can use photos taken with a digital camera, or can use a scanner to digitize old prints or negatives You can usually get high quality product images from the product’s manufacturer, too.
Compressing images
As the number of images you have, the file format you use or them has a big influence on your website’s speed. There are are different image formats that are commonly used in websites most websites using a combination of at least two:
- JPEGs: This format is best for photographs. Depending on the IORI of compression you use, the image can lose some of its definition. You might see ghosting around the edges of objects, for example. Creating a good JPEG image involves striking a balance between the level of compression and how clear the image is onscreen.
- GIFs: A GIF image can have a maximum of 256 colors, so the format is best used for icons or other illustrations. The compression algorithm is lossless, which means you don’t lose any image quality. You can also create animated GIFS, which combine a number of animation frames into a single image file. The browser displays the frames automatically, at your predefined intervals. GIF files can also have a transparent color, which allows the background to show through.
- PNGs: The PING generally offers better compression than GIF and JPEG for icons and other computer art. It also supports more sophisticated transparency, with the ability to have transparent colors that let the background shine through. The adoption of PNG has been hampered by bugs or omissions in support from Internet Explorer (up to and including IE8), and there is no support in the format for animation.
To prepare your images for your website, follow these steps.
- You can tell the browser to display an image at any on the screen and it will scale your picture up or down to fill the space. If you use a larger photo than you need though, you’ll slow your website unnecessarily. Photos from digital cameras and other high quality images will be much bigger than you need for a web page. Your first step, then, should be to resize the pictures so that they are the same size as you want to use them. For example, resize your photo from 4272 by 2848 pixels (width by height) so that it is 350 by 233 pixels. Take care to preserve the aspect ratio so your image is not distorted.
- Save a copy of the image in your desired file format. For photos or images with lots of color changes in a small space, use JPEG. For graphics, line art, text, or logos, use GIF or PNC’. Sometimes, you might want to try different formats to see which works best for you.
- Choose the quality level. You can usually go down to 80% in a JPEG without any noticeable difference. You can often cut the quality much more without significantly hurting the image’s appearance.
- Check the file size and quality are both okay.
Adding a map to your site
If you have a shop or office that you want people to visit, a map is essential. It’s easy to add one using Google Maps:
- Go to the Google Maps website (http://maps.google. com) and search for your address.
- Use the zoom controls embedded in the left of the map to adjust the view, so that you can see as much detail as you want. Click + to zoom in.
- Click the link icon at the top of the left column. It looks like a chain. A new box will open. Click to customize your map and a new window will open, shown on the left.
- Choose your map size. It’s better to include a large map, and make enough room for it, than to try to squeeze a small map into a corner of your site. Customers will want to scroll around the map to work out their directions.
- At the bottom of the screen, you’ll see a box of HTML code. You’ll learn how HTML works in Chapter 6. If you’re not ready to use this code yet, it’s okay to copy and paste it into a text file on your PC to keep it somewhere safe. Otherwise, paste it into your web page where you want the map to appear.